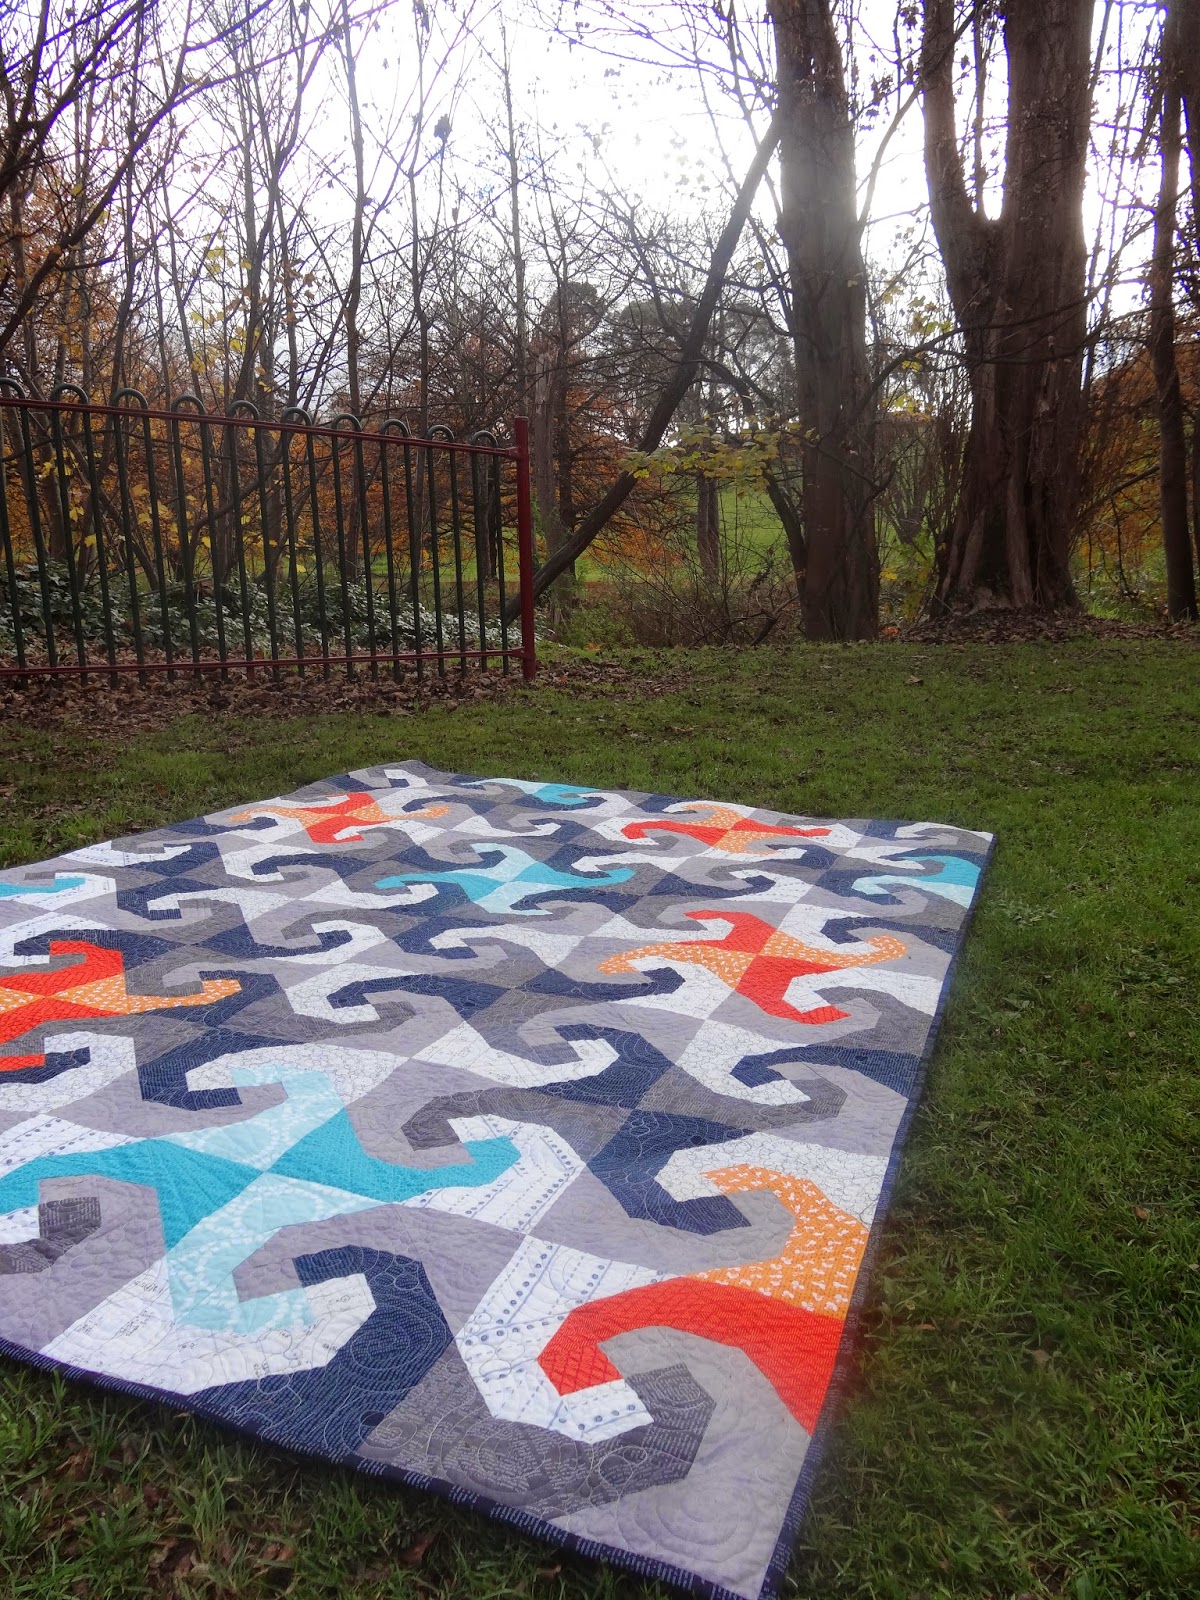
The snail trail block is one of my favourite traditional blocks - there are so many things you can do with this block in terms of fabric placement and colour choices. These blocks are 12 1/2" unfinished (12" finished).
You'll need at least two different fabrics (although I've used four for the tutorial), and this block works best if you have a high contrast in value between your fabrics. Because you'll be working with exposed bias edges a lot, starch is your friend. It really makes it so much easier to not stretch your triangles when you're handling them! Use a scant 1/4" for all your seams.
Since I made this with four fabrics, I'll go through cutting using four, and mention what do to if you want to use two.
From each of your four fabrics you'll need to cut the following squares. If you're using two different fabrics, you'll still only need to cut these squares, but you'll need (2) 2 5/8" squares from each fabric rather than one.
Set aside your four 2 5/8" squares until later. For each of your larger squares, cut in half along the diagonal to yield two half-square triangles. To do this, I line up my 45 degree line on my ruler with the bottom of the square, and position the ruler so it runs corner to corner.
Do this for all twelve of your squares. You should end up with the following pieces from
each fabric (so four lots of these triangles). If you're using four different fabrics, you'll have another spare set of twelve triangles. If you're using two fabrics you'll end up using all the triangles.
Ok, that's the cutting done. Now we can go back to the 2 5/8" squares. Sew these into a four patch, with the light colours on opposite sides like so:
I press my seams open for this step, but for the remaining steps I press to the side. I have tried pressing open and there were parts of the block that were insanely bulky.
Take your finished four patch and place the smallest set of triangles around it. We'll be sewing the lighter fabrics to either side first (the greens in this block).
When positioning your triangles for sewing, match up the point of the triangle to the centre seam of the four patch (see the little white arrow in the photo below)

Press your seam to the side, and then repeat for the light fabric on the opposite side. Press this seam outward as well.
Repeat this for the two darker fabrics, matching points and pressing as for the lighter fabrics. You'll end up with a square with little tails in the centre of each side.
This next step is important - I neglected to do it for my first couple of blocks and wondered why my points weren't matching up between each round of triangle. You need to trim your block 1/4" away from the corners of the four patch and square it up in the process. For this round this will be a very small amount of fabric.
Once your block is trimmed and square, you can start sewing on your second round of triangles. The second round of triangles are the middle-sized ones (cut from the 5 1/4" squares). Again, sew the lighter fabric on first.
Lining up your triangles is a little trickier for this round. First match the point of your triangle to the centre of the four patch:
Then gently shift your triangle down into place and pin it.
Once the four triangles are sewn and pressed, you'll need to trim 1/4" away from the points as you did after the first round of triangles. This time, try to line up one of the lines of your ruler with one of the seams in the four patch, so your trimmed edges are parallel to the four patch.
You're ready to sew on the final round of triangles. As for the other two rounds, sew the lighter ones first. Like you did in the first round of triangles, match the point of the triangle to the centre of the four patch.
Sew and press all four triangles, and you should finish up with this (after trimming and squaring up to 12 1/2").
I'm linking up to Tutorial Tuesday at Lawson and Lotti

Enjoy making these blocks, they are really fun :)
xx Jess