Showing posts with label QAL. Show all posts

Friday, 6 June 2014

A Free Motion QAL and a Giveaway!

After writing my post on FMQ tips yesterday, I started thinking that perhaps it would be fun to run a QAL, with a big focus on the quilting part of making a quilt. And thinking further, my Giant Chevron quilt pattern is a really good candidate - the lap size is perfect for learning how to handle a quilt in your machine, without contending with something too massive. It is a really simple quilt to put together, so we can spend lots of time learning how to quilt a few of my favorite motifs. There is a bit of negative space to play with, but nothing too massive, so it will be a good quilt to try some fun stuff like continuing the chevron design, or creating some ghost shapes, without having so much negative space that it's overwhelming.


I will be lining up some sponsors along the way (stay tuned for more information on that, but there will be a large box of Aurifil up for grabs), and my pattern will be half price from now until the QAL begins, in the middle of July. It will be a fairly relaxed QAL, so you'll have plenty of time to practice your FMQ and quilt each of the stripes in the quilt. I'm planning on doing some video tutorials for the quilting part of the QAL (which is why we won't start for a while.)

Choosing colours for this quilt is fun. A great option would be having a look through Design Seeds, choosing a palette that you like, and then heading over to Playcraft's Palette builder.

I'll be making mine using this Design Seeds palette, with cotton couture fabric from PolkaDotTea fabrics.


If you're going to be doing lots of FMQ, solids are a brilliant way to show off your quilting, and it is much easier to see what you're doing than quilting on print fabric. This pattern is designed for a layer cake, that's a great option too. Keep reading, there is a layer cake giveaway from the Fat Quarter Shop at the end of the post :o)

SCHEDULE:

Tuesday 1st July - Fabric options
Tuesday 15th July - Cutting and Construction
Tuesday 29th July - Basting
Tuesday 5th August - 2nd September, weekly FMQ tutorials
Tuesday 9th September - Quilting the negative space
Tuesday 23rd September - Binding
Tuesday 30th September - Final Linky Party

I'd like to do a linky party as part of each post, so everyone can share their progress.

So what do you think? Will you play along with me?

To whet your appetite, the Fat Quarter Shop is offering up three layer cakes to three winners (winner's choice of layer cake) and I'll add a copy of my pattern for each of the winners as well - so you'll just have to organise the background fabric and you'll be set!

To enter, just leave a comment on this post, maybe letting me know what layer cake you'd choose if you win. For an extra entry, help me spread the word about the QAL - and leave an extra comment letting me know how you shared it (blog, IG, Facebook etc). I'll choose the winners using Mr Random at the end of next week. The giveaway is open to everyone.

xx Jess

Saturday, 1 February 2014

Midnight at the Oasis Finale

Despite my complete standstill on Midnight at the Oasis, the QAL has continued on thanks to Sharon's hard work. I had intended to get the applique done over summer - but it just hasn't happened, so my MATO finish is a long way off. This is where I stand at the moment - although there are a lot more orange peels done  now (I only have three left to do).


But, it's time for the final linky party so that all of you can link up your quilts - we'd like to see them all, whatever stage they are at. We have prizes offered by some wonderful sponsors (Polkadot Tea, Sew Me a Song and Fat Quarter Shop are all sponsoring prizes, so please show them some love!) and Sharon will draw winners for these next Tuesday.

If you don't have a blog and are not on Flickr, you can add your picture to Instagram, use the tag #midnightoasisqal and leave Sharon a comment letting her know what your IG name is.

Thanks to all of you who joined us for this QAL and to our wonderful sponsors. 


Saturday, 30 November 2013

Churn Dash Border {Midnight at the Oasis}

So sorry about the delayed post again, I've been distracted by other projects over the last few weeks and haven't worked on my MATO quilt for ages.

I did make one tonight, so I could share how I'm approaching these (insanely) teeny tiny blocks. I'm pressing all my seams open in these - I find my piecing is far more accurate if I press open, and since these are so small I think every little bit of accuracy will count over the whole border.


For the HSTs, I'm starting with 2" squares, marking the diagonal and sewing 1/4" away from both sides. Once pressed (open) I'm trimming down to 1.5".


For the little rectangles on the sides, top and bottom, I'm strip piecing and then cutting my rectangles to size.


I'm hoping to make lots of these over the next couple of weeks and try to catch up a bit - I haven't really done much more applique than I had in my last QAL post, I really think that will become a summer project :o)

I hope you're all having fun making this quilt. I am absolutely loving seeing how different each version is!

xx Jess

Thursday, 17 October 2013

Midnight at the Oasis - Centre Block {QAL}

Welcome to the first post in the Midnight at the Oasis QAL! Before I get stuck into talking about the centre block, I wanted to mention a few things about the QAL. First of all, there will be a few prizes for the final linky party (next year! Yikes!) - details to come in the next few weeks. Second of all, Sharon and I have decided to host a linky party with each QAL post so that everyone can share their progress - these will start in the next post (so in two weeks time you can link up your centre block). If you can't wait you can always add your progress to the Flickr group, or on Instagram using the tag #midnightoasisqal.


There are a few elements involved in the centre block - the triangle sections, the centre circle applique and attaching the 'E' pieces using y-seams.

Triangle Sections:

I decided to paper piece the triangle sections (small triangles and I are not friends). To do this, I simply traced the triangle template onto blank paper, without adding a seam allowance, in strips of seven, five and three plus one for the tip of the triangle. If you choose to use this method, please keep in mind that you will have to add 1/4" seam allowance around the edge of each of these pieces when you cut them out. Apologies for the blob on this photo - I think my three year old has been poking inside the shutter of my camera!


Sharon has written up an excellent step by step tutorial for how she actually paper pieced these (so I won't reinvent the wheel. I'm lazy like that ;o) ) You could of course cut your triangles individually and piece them together without the paper foundation - although I think with all the bias edges involved, paper piecing them is the way to go.

Centre Applique:


I actually cheated a bit here - I decided to fussy cut one of Melody Miller's fabulous ladies and just applique a single circle rather than the three circles used in the pattern. Unfortunately I didn't consider that the centre is on point - so my lady is at an angle. Whoops. But considering this was my first time appliqueing anything by hand, I'm quite happy with the result :o)

To prep my circle, I used Sarah Fielke's fantastic method using aluminium foil, a cardboard circle and an iron - you can watch her method here. Once my circle was prepped, I slip stitched it in place. The circle fabric is a cotton/linen blend and is probably closer to a home dec weight than quilting cotton, so it is a little bulky, and because of that it isn't quite a perfect circle (I'm convincing myself that's the reason rather than my lack of applique skills, okay?). I like how it pops up a wee bit from the background though.

Y-seams:

Once I had made the triangles and centre circle, I sewed each triangle section to the side of the circle - and kept my paper on for this step. By only stitching along the line at the base of the template, and not stitching into the seam allowance, I was able to attach the 'E' sections using y-seams. I used Faith's great y-seam tutorial for this. I did have a few problems with this step - mostly because I'm a total y-seam novice. I unpicked a few of them countless times and still didn't get them sitting very flat. Obviously a bit of y-seam practice would be worthwhile before I attempt them again ;o) It was actually my partner who suggested 'steam and starch' might help - he is becoming surprisingly well trained as a quilter's husband!

This is the before starch shot. Very, very wavy and not sitting at all flat.


But by the magic of (a shit load of) starch, it is actually sitting surprisingly flat :o) Night time photo for this one, which is why the colours are a bit off.


I did lose my corner points a bit - but once it's all put together I'm pretty sure it won't be too noticable.

The next border is appliqued orange peels - I'm planning on needle turn appliqueing these so I'll be getting quite a bit of practice :o) I'm really looking forward to seeing everyone's centre blocks - a few have been popping up on Instagram already and they are all looking fantastic.

xx Jess

Friday, 4 October 2013

Announcing the Midnight at the Oasis Quilt Along

Last week, Sharon of Fabric and Flowers emailed me to ask if I'd be interested in co-hosting a quilt along with her, using Jen Kingwell's amazing Midnight at the Oasis pattern. Obviously I said yes - I enjoyed making the Marcelle Medallion so much I'm extremely excited about jumping straight into another medallion quilt!

This will be a fairly relaxed QAL. Sharon and I will both be posting fortnightly (starting Friday 18th October) about different ways each of the borders can be tackled. This quilt uses quite a few techniques I haven't used, including needle turn applique, so for me it will be a real skill builder.

Schedule of Posts:

Centre Block - 18th October
First Border (Applique) - 1st November
Second Border (Applique) - 15th November
Third Border (Churn Dash) - 29th November
Fourth Border (9-patch) - 13th December
Fifth Border (Square borders) - 3rd January

Linky Party for finished quilts - 31st January. We might even organise some prizes for the final link up ;o)

Purchasing the Pattern:

I bought the pattern directly from the Amitie Textiles website - and they have a list of stockists available on the site so if you live outside Australia you might be able to find it elsewhere.

The pattern for this quilt is also found in Issue 96 (July/August 2013) of Quiltmania magazine. I couldn't find it available locally, but Sharon bought her copy from Barnes and Noble.

Choosing Fabric:

One of my favorite parts of making quilts is choosing what fabric to use. Midnight at the Oasis would be a fantastic scrap quilt - so that is a definite possibility (I really need to tame my scrap pile!) I've also pulled at least half a dozen bundles for this quilt, but haven't decided for sure what I'll be using. The front runner at the moment is the middle bundle.


I've started a Flickr group so that we can all share our progress, and if you use Instagram, you can use the tag #midnightoasisqal.

So, are you keen to join us in making this amazing quilt? We would love to have you along for the ride :o)

xx Jess

Tuesday, 4 September 2012

A Totally Groovy Quilt Top

When you have a million projects on the go, should you work on the highest priority first? Well, yes. Did I? Ah, no. I finished making my Groove quilt top instead :o)


I'm making the lap sized version - this measures about 60" x 72". Because I knew I'd be working with some pretty long seams I starched the crap out of these fabrics - more akin to sewing paper than fabric!

I love this quilt already. And for once, I'm ahead of schedule (I nearly fainted when I realised the link up for this QAL isn't until the middle of October. October, people! I have six weeks to get it quilted!)

So once I've finished sweary Tula and caught up on our QAL as well as bee blocks, I'll be all set to quilt this baby. From the very beginning this quilt has always been about the quilting for me, and I'm SO pumped to get started :oD

xx Jess

Friday, 24 August 2012

You can call me crazy...

Given my really fantastic track record with QALs, anyone would think I'd steer clear of them. But I'm a sucker for a QAL. And I had already bought the pattern for this, and worked out what fabric I wanted to use before the QAL was announced. So I'm (probably stupidly) joining in the Groovy QAL organised by Alyssa.

As soon as I saw this pattern I fell in love. I'm a bit of a hippy and major fan of the 60s/70s so it was a no-brainer to make it someday. To top it off, I've had a few yards of this print sitting in my stash (originally bought to make a skirt before I started quilting) and I decided it would make the PERFECT back for Groove.


I loooove the colours in it, so I grabbed my Kona colour card and decided on (from top) Azure, Willow, White, Chartreuse and Black. And my lovely parcel arrived today from the Fat Quarter Shop!


And you know, because I've got nothing else to do, I will be attempting to get it done before the end of the QAL. Yes. I definitely have a few screws loose :o)

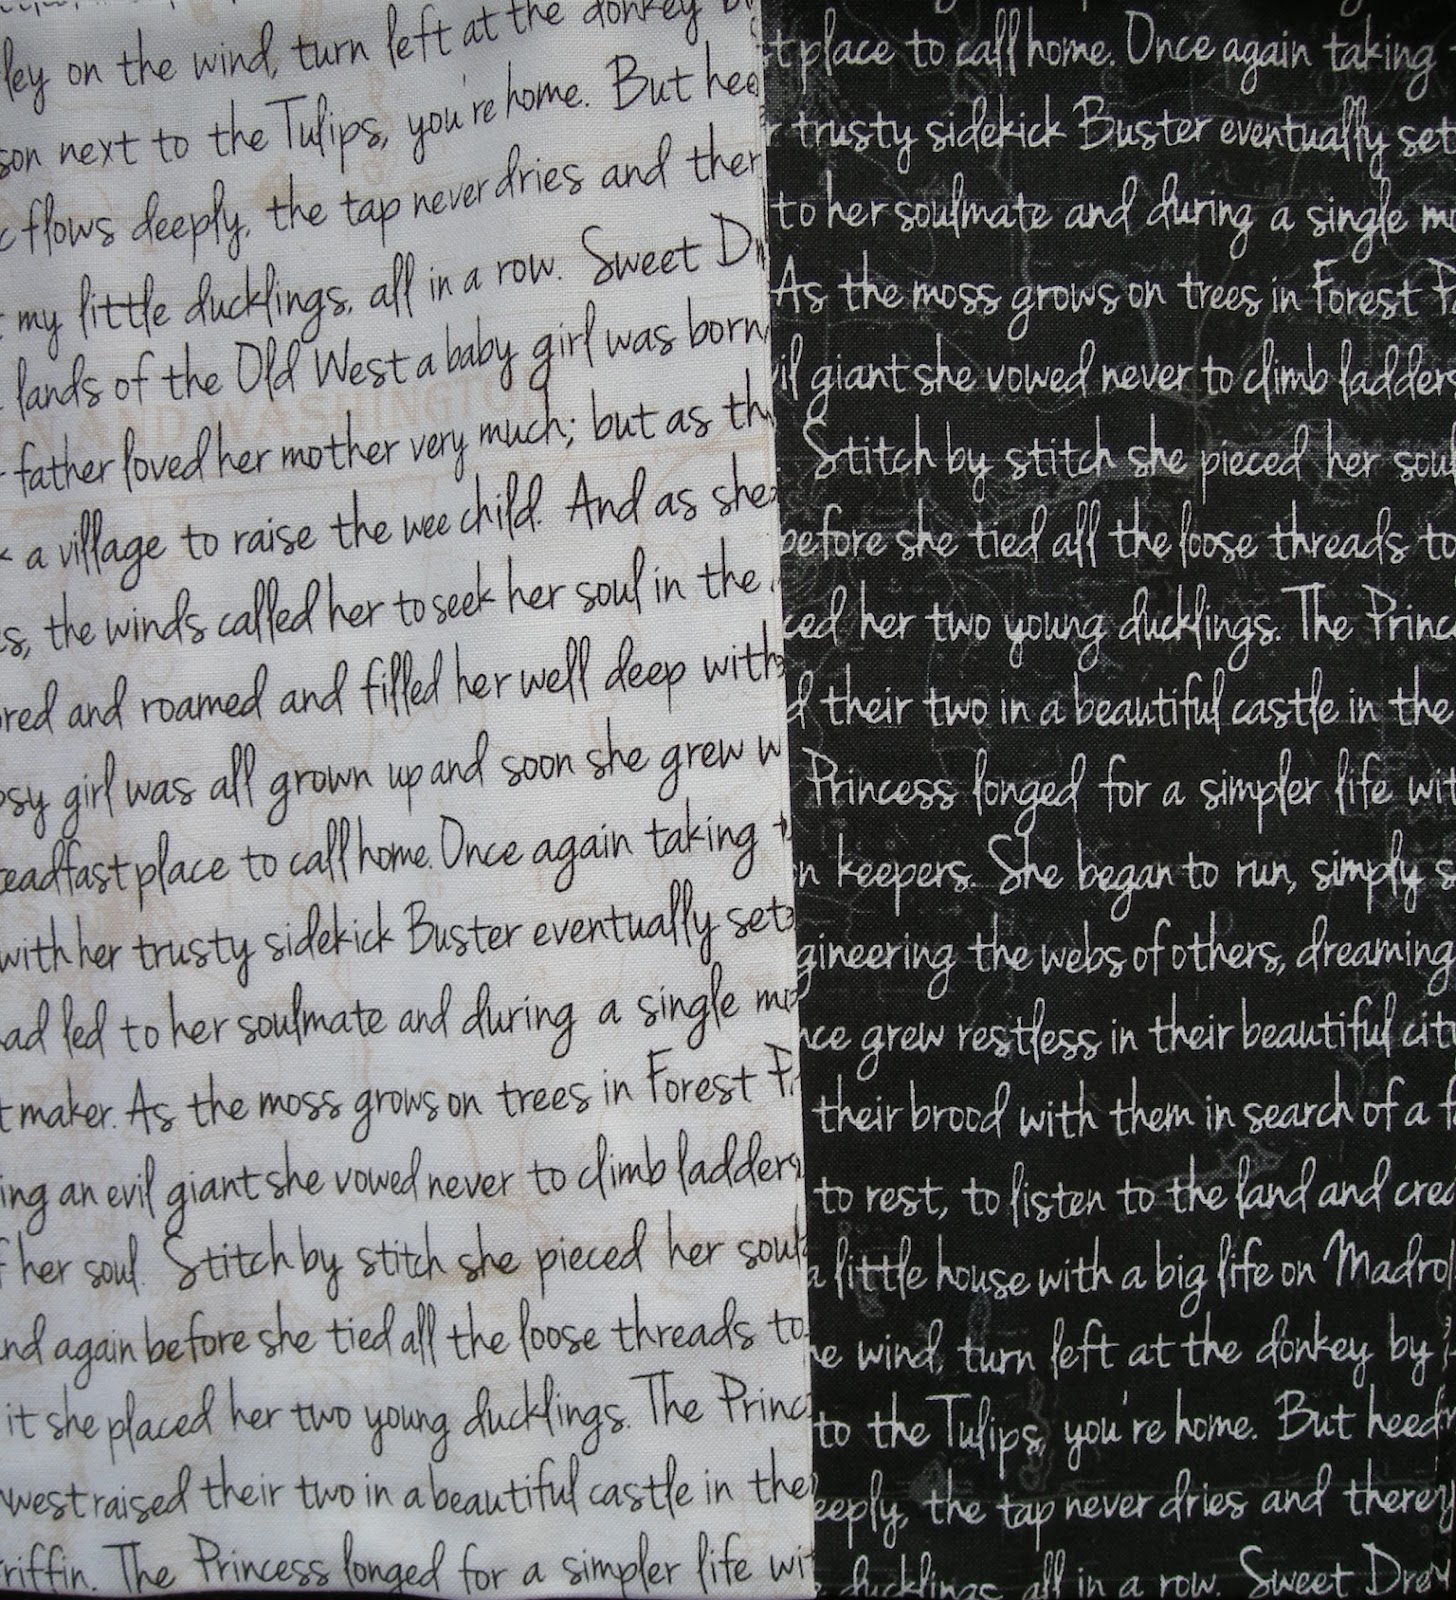
Oh, and because I always have to fill my flat rate satchel to the brim, these half yards of Madrona Road text prints somehow jumped in too...


Wish me luck! No, really, I mean it (and Jen, you can stop laughing now!)

xx Jess