Welcome to the first post in the Midnight at the Oasis QAL! Before I get stuck into talking about the centre block, I wanted to mention a few things about the QAL. First of all, there will be a few prizes for the final linky party (next year! Yikes!) - details to come in the next few weeks. Second of all, Sharon and I have decided to host a linky party with each QAL post so that everyone can share their progress - these will start in the next post (so in two weeks time you can link up your centre block). If you can't wait you can always add your progress to the
Flickr group, or on
Instagram using the tag #midnightoasisqal.
There are a few elements involved in the centre block - the triangle sections, the centre circle applique and attaching the 'E' pieces using y-seams.
Triangle Sections:
I decided to paper piece the triangle sections (small triangles and I are not friends). To do this, I simply traced the triangle template onto blank paper, without adding a seam allowance, in strips of seven, five and three plus one for the tip of the triangle. If you choose to use this method, please keep in mind that you will have to add 1/4" seam allowance around the edge of each of these pieces when you cut them out. Apologies for the blob on this photo - I think my three year old has been poking inside the shutter of my camera!
Sharon has written up an
excellent step by step tutorial for how she actually paper pieced these (so I won't reinvent the wheel. I'm lazy like that ;o) ) You could of course cut your triangles individually and piece them together without the paper foundation - although I think with all the bias edges involved, paper piecing them is the way to go.
Centre Applique:
I actually cheated a bit here - I decided to fussy cut one of Melody Miller's fabulous ladies and just applique a single circle rather than the three circles used in the pattern. Unfortunately I didn't consider that the centre is on point - so my lady is at an angle. Whoops. But considering this was my first time appliqueing anything by hand, I'm quite happy with the result :o)
To prep my circle, I used
Sarah Fielke's fantastic method using aluminium foil, a cardboard circle and an iron - you can watch her method here. Once my circle was prepped, I slip stitched it in place. The circle fabric is a cotton/linen blend and is probably closer to a home dec weight than quilting cotton, so it is a little bulky, and because of that it isn't quite a perfect circle (I'm convincing myself that's the reason rather than my lack of applique skills, okay?). I like how it pops up a wee bit from the background though.
Y-seams:
Once I had made the triangles and centre circle, I sewed each triangle section to the side of the circle - and kept my paper on for this step. By only stitching along the line at the base of the template, and not stitching into the seam allowance, I was able to attach the 'E' sections using y-seams. I used
Faith's great y-seam tutorial for this. I did have a few problems with this step - mostly because I'm a total y-seam novice. I unpicked a few of them countless times and still didn't get them sitting very flat. Obviously a bit of y-seam practice would be worthwhile before I attempt them again ;o) It was actually my partner who suggested 'steam and starch' might help - he is becoming surprisingly well trained as a quilter's husband!
This is the before starch shot. Very, very wavy and not sitting at all flat.
But by the magic of (a shit load of) starch, it is actually sitting surprisingly flat :o) Night time photo for this one, which is why the colours are a bit off.
I did lose my corner points a bit - but once it's all put together I'm pretty sure it won't be too noticable.
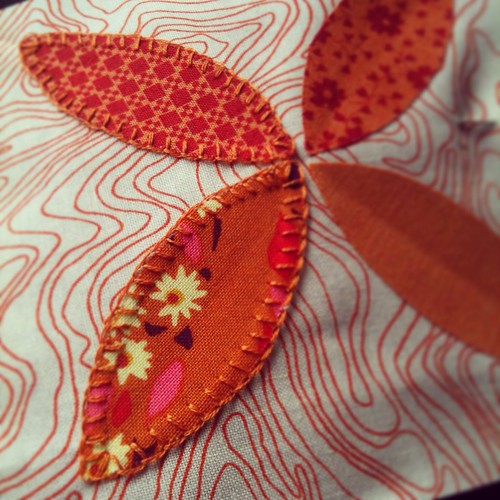
The next border is appliqued orange peels - I'm planning on needle turn appliqueing these so I'll be getting quite a bit of practice :o) I'm really looking forward to seeing everyone's centre blocks - a few have been popping up on Instagram already and they are all looking fantastic.
xx Jess