Showing posts with label Free motion quilting. Show all posts

Monday, 8 May 2017

Peppermint Bark {a finished quilt}

April was a pretty busy month for me - my son turned 10, we had school holidays for a few weeks, plus throw in Easter, work and me learning how to use a longarm. Let's just say it was a full month! Nevertheless I managed to finish a few small projects, and I'm excited to be able to share one of these with you today. This is my version of the Peppermint Bark quilt, a brand new quilt pattern by It's Sew Emma for Fat Quarter Shop. 


I made the crib-sized version of this quilt - and although I don't have any baby girls to give it to, it's the perfect playmat for my daughter to use when she's playing with her Sylvanian toys. I used a few prints by Sarah Jane I've been hoarding for ages (along with a Joel Dewberry herringbone print), and chose a grey solid for the background. I deliberately chose a solid, as I knew I wanted to have some fun with the quilting on this one, and solids are awesome for showing up complex free motion quilting. It's a great pattern for small and medium scale prints - and these blocks sew together really fast.


I used two layers of wool batting for this quilt, which is why there's that awesome puff in the unquilted areas. I love using two layers on small quilts, especially if the intention is that they're going to be used on the floor. Not only does it mean the quilting shows up wonderfully, it also means it's super comfy for kids to sit on while they're playing. All the quilting is done in my favorite 50wt Aurifil thread - Dove (2600). It has blended flawlessly into the grey solid, and just leaves all that lovely texture.


The back of this is a border print by Sarah Jane, so it's pretty much a double sided quilt. I'm quite certain my daughter will end up using this side for her games (she has been asking for a playmat with water and grass on it for some time - I think this fits the bill pretty well!)


I'll be back later this week with some very exciting news - and I'll have another finish to share next week (I just need to get the binding on it!).

xx Jess


Wednesday, 1 February 2017

Flow {A Finished Quilt}

Wow, it's been a long, long time since I've shared a quilt finish in this space! It's nice to be back - and I have several quilts and quilt tops I finished toward the end of last year that I'm hoping to share over the next few weeks. The first two I'll be showing you were made essentially in secret - that is, I resisted my usual tendency to completely overshare what I'm working on. The main reason for this was that both of these were made specifically for the challenge categories for QuiltCon 2016, so I wanted them to be a bit of a surprise *if* they were juried into the show. Neither of them got accepted, so I'm kind of excited to be able to share them at last!

The quilt I'm sharing today was made for the Michael Miller Luxe challenge - she's called Flow and she was a really fun quilt top put together. This is a fairly long post, as I'll be showing a bit of my process as well as a few pictures of the final quilt, so please bear with me! I would normally split this much information across a few blog posts - but I'm making up for my recent lack of blog posts by giving you a single enormous post ;o).


Mid last year, the Modern Quilt Guild offered members the opportunity to sign up for the Michael Miller Luxe challenge, one of the special categories that would be part of the QuiltCon 2017 show. Everyone who signed up for the Luxe challenge was sent two half yard pieces of fabric, in one of the colour stories below. Participants were then allowed to add ONE cotton couture solid to these, and to use any of the Luxe range of fabrics in their quilt. The fabrics I received were the middle two, and I then added a deep teal cotton couture to these, as well as solid white and grey Luxe fabrics.


I have to admit, these fabrics sat in a pile on my cutting table for a good few months before I started getting some ideas about what to do with them. These fabrics are sheeting fabric rather than quilting cotton, and as such have a slightly different sheen (they are quite shiny) and have a wee bit more stretch than regular quilting cotton. I was a little bit nervous about working with them, but eventually I decided improv curves were the way to go, and I started making a few blocks, without any real plan as to what I'd do with them. Apologies for the poor lighting in the next few photos - my design wall has overhead fluorescent lights, which make it really hard to get good pictures of the whole wall. 

Initially, I made a few blocks, thinking I would position them so that there was a continuous improv curve from top to bottom down the quilt. 


But as I kept making blocks, I decided to lay them out more randomly, with more negative space between and around the blocks. At this point I hadn't ordered any solids for the background, and my initial thought was to surround them all with white, and to create continuous curved lines through the quilt with quilting.


But, when I sat down to order the solids, I decided at the last minute to get some grey as well as white, and use this to create some more movement in the negative space. I think this is what I love most about improv quilts - it's such a playful process, figuring out layout and design on the fly. Working with an idea, testing things out and discarding ideas that don't quite work.


I had a love-hate relationship with this quilt the entire time I was piecing it. Thankfully, I have a really awesome quilty friend (kat) who was happy for me to bombard her with photos and questions as I was working on it. I think I've grown so used to oversharing my projects on social media as I'm working on them, that working on something in secret made me feel like I was in a black hole in some ways. I needed the opportunity to get constructive criticism when I was making this, or I honestly think I would have abandoned it. 


In the end, this quilt was a weird combination of improv curves, and some pretty intense precision piecing to get those curves to form a continuous line through the quilt top. It was a really fun challenge, so despite those times I didn't like it, I still enjoyed the process. And seriously, this quilt was SO much fun to add texture to. Quilting is a super important part of quilt making for me - and the whole time I was piecing it I was thinking about how I would quilt it, to add to the sense of movement in the quilt top, and add loads of texture without detracting from the design. I forgot to take a photo of the top before I quilted it, so this is it in full. After I'd finished piecing, I decided to orientate the curves across the quilt, rather than top to bottom, and I much prefer it this way around :o).


As always, I did all the quilting on my little domestic Bernina (440QE), but because it's a reasonably small quilt (around 60" square) it was a really enjoyable quilt to quilt. I decided to use batting with a bit of loft to make all the quilting stand out, so I chose a Wool/Polyester batting - it's become one of my favorites to use. The batting, combined with the fact that it's made from sheeting, has resulted in the softest quilt I've ever made, despite all that dense free motion quilting.


All the quilting on this one is done in Aurifil 50wt - white, dove and a few different blues to blend in with the fabrics. Although I've recently used a few other weights of Aurifil for quilting (40wt and 28wt), for this quilt I decided 50wt was the way to go, as I wanted the quilting to blend into the fabric as much as possible, just leaving all that texture.


I don't often piece backs for my quilts - but I had a few bits of the Luxe grey and white left over, as well as a bunch of half-metre pieces of various blues, aqua and teal cotton couture that I pieced together for this one. Solids are the BEST for showing up quilting :o).


Thanks for making it this far in a pretty epic blog post! As I said, I have a few more quilts to share, which I hope to do over the next few weeks. I've made a few fairly major life changes this year (all good ones) which will mean I have more time and energy to blog more regularly. I'd forgotten how much I enjoy talking about and sharing my projects here, so you'll have to put up with my rambling a bit more frequently from now on...

xx Jess


Wednesday, 24 February 2016

Aviatrix Medallion {Finished at last!!}

A few days ago, I finally finished sewing the binding down on my Aviatrix Medallion, so this epically epic quilt is finally (almost!) finished! Aviatrix has been roughly a year in the making, so I hope you're not sick of seeing it quite yet (I know I've been sharing it quite frequently over the course of piecing and quilting it!). I still have a lot of thread burying to do, but it is essentially finished - so this is the last time you'll have to see it ;o). 


I made this quilt as a class sample for the class I taught at Frangipani Fabrics last year (and will be teaching again this year), and all the fabrics in the quilt are from Frangipani. The Aviatrix Medallion pattern is designed by Elizabeth Hartman, and I stuck pretty closely to her original palette, but I've used print fabrics rather than solids as in the pattern. I really do prefer working with prints, especially prints that have a dominant colour, and I think they work perfectly in this quilt. It gives the blocks a bit more sparkle than with solids, I think.


This is a pretty time consuming quilt to piece - although the centre is the only really difficult part to put together. Having said that, the way I chose to quilt it made it a truly epic quilt to make. I haven't timed it at all, but I reckon I spent close to 150 hours quilting this one. And I am really proud of what I achieved with it. I tried really hard to be original in my quilting choices, and to add lots of texture without taking away from the piecing design too much. I think I've achieved my aims - I know this much detailed quilting isn't to everyone's taste, but I adore how it's finished up!


I used a wool/poly batting for the first time on this quilt - and I'm hooked. It gives the quilting a bit more puff than 100% wool batting, and it has a lovely drape despite all that quilting. I figure if I am going to spend all that time quilting, it might as well be noticeable ;o). 


Having looked through these photos, I've decided I will go back and add some more quilting to the log cabins that haven't been quilted in the coloured sections. In the photo below, you can see I've quilted a cross hatch pattern in the yellow log cabin - I'm going to go back and add bits of quilting like that at some stage soon.


 The back of this quilt is simply pieced, with a Cotton and Steel voile down the centre and a dark pink solid on either side. The voile held up amazingly well with all the quilting on this quilt - and having such a light weight fabric on the back means it drapes amazingly well. Not only that, it feels delightful!


As always, I matched my bobbin thread to the top thread, so the quilting on the solid pink is really visible, especially where I've quilted over the same place a few times. I somehow managed to keep the back straight relative to the front too - not something that always happens when I piece backs! The binding is partly pieced using the left overs from the top, and partly neutral fabric that blends in with the final border.


All the quilting was done with Aurifil threads - Dove grey 50wt for all the background and grey areas, and the four colours you can see below for the coloured sections. I love that you can see the quilting on some of the coloured sections, but blends into others. Changing thread colours wasn't something I originally planned for this quilt, but I'm glad I did. Although it means a lot of threads to bury, I think with this much quilting it needs to blend fairly well, or it would completely dominate the piecing.


This quilt was on my Finish Along Quarter One list, so I'm especially pleased to get one finish in this quarter. I've had so many lovely comments during the making of this quilt, thank you so much for your encouragement! I'm incredibly happy with how it's turned out, although I'm looking forward to making a couple of simple quilts before launching into my next epic quilt ;o)

xx Jess

Friday, 25 September 2015

Welded Quilt {AGF Stitched}

Over the last couple of weeks I've been working pretty solidly on a new quilt. This is the third installment in the AGF Stitched series, a joint project between The Fat Quarter Shop and Art Gallery Fabrics. This quilt is called Welded, and it is another really fast quilt to put together :o)


As soon as I saw this quilt design, I decided it would be perfect for my eldest son's upcoming eleventh birthday. It's a great masculine design, and it uses large pieces of fabric so there's lots of opportunity to use large scale prints.


I've used fabric from several Art Gallery collections - the background text fabric is one of my all-time favorites (from Cherie designed by Frances Newcombe). The rest of the fabrics are from Utopia (Frances Newcombe), Curiosities (Jeni Baker), Happy Home (Caroline Hulse) and Imprint (Katarina Roccella). I love this mix of prints and colours - and I think my son will love it too :o)


I had originally intended to keep the quilting simple on this quilt (famous last words, right?) - but as you can see that idea went out of the window pretty quickly! I haven't actually finished the quilting yet, but you probably get the idea of where it's going from these photos...


 I started by quilting the background areas using Aurifil 50wt dove grey thread (the magic blending thread!), creating a square 'border' around each of the navy blue squares. It took me a while to decide what to do in the other coloured squares (orange, yellow and green etc), but I eventually decided to quilt a star type design, with pebbles radiating out from the centre of the blocks. I LOVE the texture in these parts of the quilt - although it was that decision that took this from quick and simple quilting, to something that is taking hours. All worth it though, I think!


I'm now in the process of going back and quilting each of the navy blocks, just using simple straight lines in varying widths. I will also quilt the turquoise corner stones at some stage soon. I was a bit worried that all this quilting would detract from the quilt design - but I think because I've used blending thread and kept it to just a few designs (essentially straight lines and pebbles) it works quite well. This is still a really soft and drapey quilt, despite all the quilting - possibly due to the amazing quality of Art Gallery Fabric I think?


If you'd like to make your own Welded quilt, you can find the free pattern here, and there is a video tutorial available too! The Fat Quarter Shop also have a complete quilt kit available, using Pat Bravo's Etno collection.

I hope you have a fantastic weekend! School holidays kick off today for two weeks, so I don't expect to get much sewing done - but I'm really looking forward to having my small people at home :o)

xx Jess


Wednesday, 16 September 2015

The adventure continues

The last week has been a wee bit manic in terms of sewing. I've been working on four different quilts (two new quilts, my Aviatrix and a very long term WIP) as well as starting to prep for the Farmer's Wife Sew Along. I've said it before, and I'm sure I'll say it again - I love working like this, and flitting between different projects!

I haven't done all that much more quilting on my Aviatrix this week, but I'm so excited about how it's coming together you're going to have to look at it again ;o) I've finally finished quilting the x plus blocks - and I just love that border. It took a long time to do (I think about 15 hours give or take), but the effect of those geese was totally worth it. I'm so glad I decided to alternate the direction - I think it adds a bit of subtle movement.


I didn't quilt the second solid border (the one just before the x plus blocks) until today. I asked what people thought would work on Instagram yesterday, and some amazing ideas thrown at me. Krista (who I was lucky enough to do a class with at Quiltcon, and who inspired the quilted geese) suggested an orange peel quilting design in the border as a nod to traditional medallion quilting. When Krista suggests something, you kind of can't say no (and I think it is a genius idea) - but the thought of doing orange peels in a 1" border didn't excite me all that much - plus I think I'd have to mark to pull it off, and I'm not a marker if I have the choice! Since the border beyond the x plus blocks had me stumped, though, I thought orange peels would be perfect there. The overwhelming response (and my instinctive choice) to that first border was pebbles again. So that's what I did :o)


 Because the neutral border is pieced squares, I used those as the grid for the orange peels, and didn't have to mark. I call that a huge win :o) I'm in the process of going back and quilting straight lines between the orange peels and the x plus block - and may continue this on the other side of the orange peels, I haven't quite decided.


The long term WIP I've been working on is my Colour Block quilt made with Tula Pink's Birds and the Bees fabric, using Tula's free pattern she released when SaltWater came out. I pieced this quilt top about 2 1/2 years ago and I'm currently hand stitching the binding down, so I'm pretty excited that I'll be using it soon!


This is the biggest quilt I have ever made (about 85" x 96") and one of my favorites. The texture of the organic free motion quilted straight lines is just gorgeous - I'm looking forward to washing it (something I don't normally do straight away) and see what it feels like. I'm hoping it'll be done later this week so once I manage to get photos I'll do a proper post.


I hope you're all having a great week! I'm off to keep hand stitching binding...

xx Jess

Wednesday, 9 September 2015

Epic adventures in FMQ

A few weeks ago, I started quilting my Aviatrix Medallion and then everything came to a stand still when I got sick. I started feeling much better this week though, and I've gotten back into quilting with a vengeance - and I have progress to share!! It's nice to have energy again - this quilt weighs a tonne with all the seams and due to the sheer size of it (80" square), so the last thing I felt like doing last week was wrestling with this ;o)

I actually started quilting this a few weeks ago - I started out by ditch stitching around all the tiny diamonds in the centre block, and then matchstick quilted some of the white diamonds to make the birds pop. It's impossible to capture the texture in photographs, but this block feels amazing when you run your fingers across it. I didn't want to complicate the centre too much, so I free motion quilted straight lines radiating out, using the seams as a guide.


The half square triangle border is pretty simply quilted too - ditch stitched, and then straight lines through the lighter value HSTs. Up to this point, I thought I'd use Aurifil 50wt in Dove grey (my go-to quilting colour most of the time) for the whole thing. It blends beautifully into the soft grey Cotton and Steel crosses and contrasts just slightly with the white background.


Once I'd ditch stitched the next border however, I decided I wanted to start using coloured thread on the coloured sections. I'm being pretty careful about ditch stitching to keep this quilt square as I move out through the borders, not an easy feat on a quilt this size. Totally worth it though, as I'm removing most of the basting pins during the ditch stitching, which is freeing me up to go a little nuts with the more complex quilting. The other handy thing about having ditch stitched around each block is that I can quilt each of the colours (ie blue then pink then red etc) and only change threads between each colour, rather than between each block.


Once I'd finished quilting the strip border, I sat down and did a bit of sketching to figure out how to quilt the x plus blocks. One of my favorite parts of the border above are the quilted geese in the lowest border, so I decided to continue that theme by quilting geese into the 'x' parts of these blocks. I quilted out all of the 'background' first using dove grey thread, creating gems between the blocks. And now I'm going back to each block and quilting them with a coordinating colour. I've matched my thread colour to the middle value in each colour group - so it blends quite well into some of the colours, but contrasts with the lightest and darkest fabrics. A little bit scary (and requires a LOT of concentration), but totally worth it. I'm delighted with how this border is progressing. I'm not doing any marking for this either - I did for the first block and then realised I could do it by eye reasonably easily :o) 


I'm not going to lie - this quilting is taking a looong time (around 30 minutes for each block), but I put so much time and effort into the piecing, I figure it's worth time and effort with the quilting. Quite a few people have commented about how much patience I must have - I guess I do, but I enjoy this kind of quilting so much and the result is absolutely worth it, I think! I will go back and quilt the skinny border before the x plus blocks too - I just haven't decided what to do yet.


I did want to clear up a few things in this post too - I've had a few no-reply commenters recently who assume I quilt on a long arm. I don't. All of this is done on my domestic Bernina. Yes it is hard on the shoulders, but I stretch a lot and take regular breaks. I'm a firm believer that it is possible to do pretty much anything on a domestic that you can on a long arm (except perhaps really large scale quilting where you just can't manipulate the quilt effectively or see where you need to go next). I'd still love a long arm one day, but I'm content with what I've got and I'm happy to work within the limits of a domestic machine.

Apologies for the epic and slightly preachy post, I hope you're all having a fabulous week!

xx Jess

PS Linking up with Lee at Freshly Pieced for WIP Wednesday!!

Tuesday, 25 August 2015

House of the Rising Sun

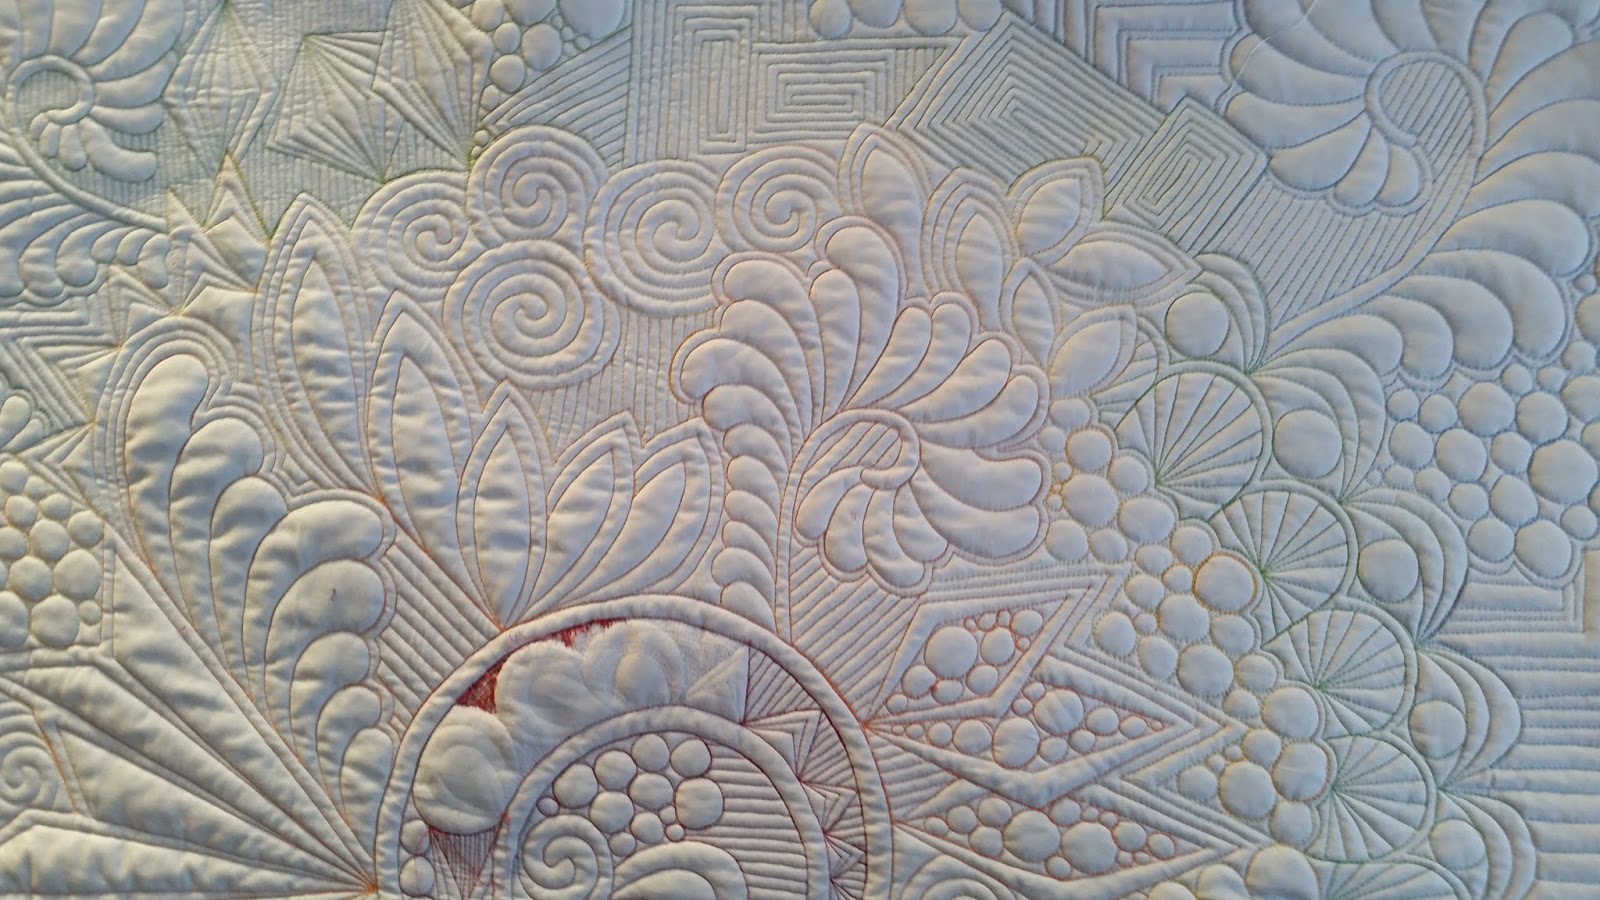
Over the last week or so, I've been working on a class sample for a free motion quilting class I'll be teaching in November. It has been such a lot of fun to work on this quilt - and it's pretty much done! I have used Karlee Porter's Graffiti Quilting book as a jumping point for this quilt - it's a great ideas book. As I became more confident with this style of quilting, I tried to bring in my own elements more, but it's definitely inspired by Karlee's phenomenal work. All my students will be purchasing a copy of the book too - it's a great resource.


I am still unpicking that dark red bit in the middle, and I will fix that bit very soon - but apart from that it's finished. I definitely like some parts better than others - but it will be good to show students what works and doesn't work ;o)


It's really hard to capture the thread colours in photos, but I've used a rainbow of Aurifil threads (some 40wt, some 50wt) starting with red in the centre. Most of the thread colours I used were on the light side - I did start quilting with navy thread, but I decided pretty quickly that it was a bit dark, and changed to a softer variegated blue. I especially liked quilting with 40wt variegated thread on this quilt; once I got used to using contrasting thread it made it interesting to see the subtle change in colour starting to appear.


I used two layers of wool/cotton batting on this one (it's only about 40" square so it wasn't too heavy) - and it's given the quilting a gorgeous texture. It is a pretty stiff quilt with all that quilting though - which made it tricky to move it around toward the end!


It needs to be washed and blocked once it's completely done - it is pretty wavy around the edges, but I'm hoping it will flatten out when I block it.


I started quilting my Aviatrix today too - so I'm hoping I'll have more quilting progress to share soon :o)


xx Jess

Thursday, 18 June 2015

Beneath the Waves (a finished quilt!)

Back in December last year, I hosted a giveaway for a roll up of blue Cotton Couture fabric from my wonderful sponsors Polka Dot Tea fabrics and Danielle and Jeanette generously sent me a roll up as well. It's no secret that I'm a massive fan of cotton couture - I first used it last year when I made Galaxy and it was love at first touch. Needless to say, I was pretty excited to work with the roll up! Around the same time, I bought Karlee Porter's self published Grafitti Quilting book (which is excellent), and instantly wanted to give grafitti quilting a try - and what better way to feature quilting than working on an all-solids quilt? This idea percolated away for a while, and then when I came back from QuiltCon I came up with a solid plan for how I wanted to approach it.


I started by sorting the strips by value (using the black and white function on my camera), attempting to have a smooth transition from dark to light across the quilt top. I nearly managed it, but I think I accidentally switched a few strips around while I was piecing it so there are a couple that don't quite transition smoothly - but it's close enough for the effect I wanted ;o)


Once it was pieced and basted I dived straight into the quilting. I was lucky enough to attend a class with Krista Withers (one of my quilty heroes) at QuiltCon, and I came home full of ideas I wanted to try. One of the best things I came away from Krista's class with was ideas for how to approach breaking up negative space with quilting, and I wanted to incorporate some of that into the quilting on this quilt. So I decided to use a combination of grafitti quilting and Krista's ideas and hope for the best. I decided to use this as a learning experience, and just go with it - no ripping stitches, no self-criticism but just have fun and play. As a result it was one of the most enjoyable quilts to quilt - and I'm delighted with how it turned out. It was a brilliant learning quilt - finding some new (to me) shapes and combinations of designs, and getting LOTS of ideas for future quilts.


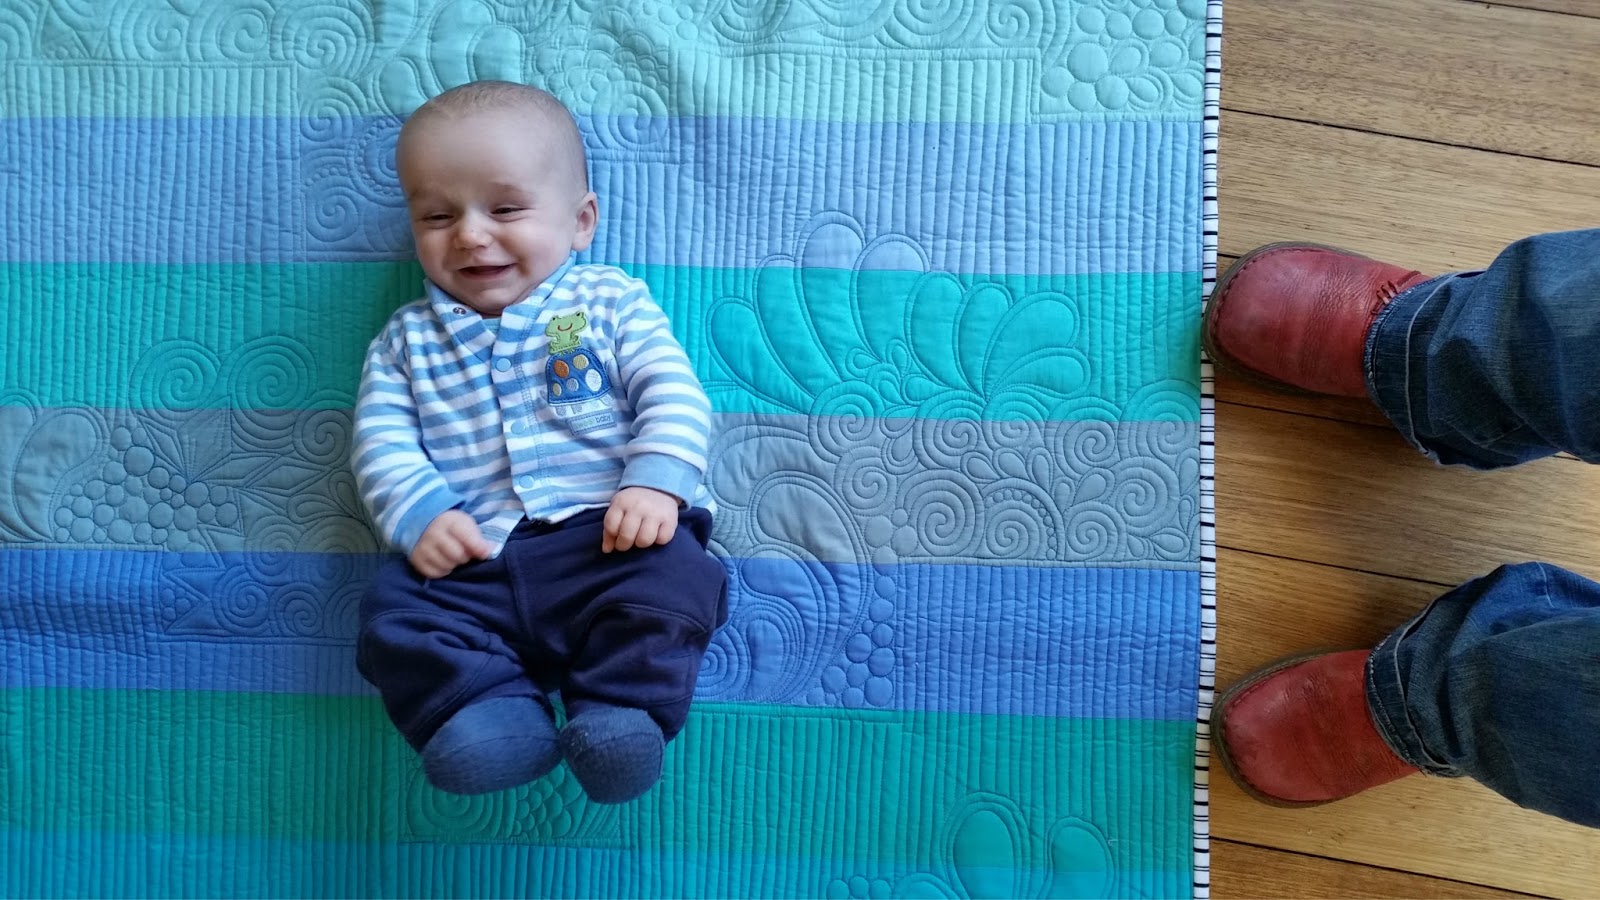
I made this quilt for my baby nephew, who lives in a house with polished boards, so I used a double layer of wool batting on this quilt thinking it would be a lovely quilt for wriggle time (and to play on as he gets older). The resulting texture is pretty incredible - I think it will be a really great sensory quilt as he gets older and starts to explore things more. I'm using a double layer of batting more and more on smaller quilts - I just can't get enough of the texture it gives. I don't think I'd do it on anything much bigger than this (it's about 40" x 60") due to the added weight, but as I'm becoming more confident with my quilting, I'm really loving the added puff two layers gives.


The quilting is all Aurifil 50wt thread - a variegated blue in the darker area of the quilt, and then a light variegated grey in the lighter area. Overall the thread has blended beautifully and has just left all the glorious texture. The combination of cotton couture, double layer batting and all that quilting makes for a pretty luxurious quilt - it's silky soft to touch and it is very comfy to lie on (as this little cutie can attest!)


I can't promise I'll have two posts in such quick succession again by the way - but these wintery nights are much better suited to sitting on the couch with my laptop than braving my freezing cold sewing room, and I have lots of things I need to share, so I might actually become a regular blogger again ;o)

xx Jess


Wednesday, 17 June 2015

TMQG Raffle Quilt

Earlier this year, some of our Tasmanian MQG members got together at one of our sewing days and started putting blocks together for our raffle quilt. One of our very dedicated members (my friend Lauren) then put the rest of the blocks together. We worked together to piece the top - and then it was handed over to me for the quilting (which I finished back in April).


We made this quilt using a bundle of Kona solids, and Carolyn Friedlander's fantastic Aerial pattern. The blocks are all paper pieced, so it was the perfect choice for a group quilt in terms of making sure the blocks were all the same size. It went together like a dream! 


It took me a while to decide how to quilt this one, but I knew I wanted to keep it fairly simple since it's such a dynamic and complex design. I ended up deciding to quilt in the ditch in all the seams in each block, and then chose one colour within each block to do some free motion organic straight lines. I think it works really well - the texture is really lovely without distracting from the complexity of the blocks. 


I used coordinating Aurifil thread for all the quilting - my healthy thread stash certainly came in handy ;o) How to quilt the borders had me stumped for a while - but I ended up extending out the 'fractured' lines within the blocks, and then filling in the spaces around them with some swirls and a couple of feathery designs.


 It wasn't until I quilted the last border that I discovered what I should have done across the whole border - rather than extending the line and echoing it at an angle on both sides (as in the photo above), it looks much more effective where I've just echoed one side (as in the lower area in the photo below). I'm still really happy with how this one came out, but it was a really great learning experience and has given me ideas for how to quilt future projects :o)


We are currently selling raffle tickets for this quilt, and the winner will be drawn at the Craft and Quilt Fair in July. The money we raise will be going to a support a sewing program at our local Women's Prison. I am thrilled that we are supporting this program - I know so many people (including myself) who have found sewing and quilting to be amazing therapy when going through difficult times in life. If you are interested in purchasing tickets, please contact us at tassiemqg at gmail dot com.

xx Jess

PS stay tuned for my MisDirection pattern release later this week! I can't wait to show you my amazing testers versions.