

This block is made up of half square triangles (HSTs) and quarter square triangles (QSTs). I will be walking you through how to put this block together, along with a few tips and tricks for piecing these units so that you get perfect points.
#20 CAROLINE TUTORIAL - ROTARY CUTTING
Step 1 - Cutting
To make this block using the rotary cutting method, you will need to cut squares of fabric.
a. The smaller squares are cut at the size shown on the rotary cutting instructions for Triangle B, but rounded up to the nearest half inch. You will need FOUR squares from one fabric (shown as blue in my block) and TWO squares from two other fabrics (the green and white stripe, and the green and blue stripe shown here). This is a total of EIGHT squares.
b. The larger squares are cut at double the measurement shown for Triangle B, rounded up to the nearest inch.

Step 2. Pair up your fabrics.
The smaller squares will be paired up as shown in the photo below. The larger squares are paired up together.

Step 3. Draw a diagonal line through the centre on the wrong side of the lightest fabric in all of your six pairs of fabric.

Step 4.
a. Sew 1/4" either side of the line on all pairs of fabric, by lining the side of your patchwork foot up along the edge of the line
b. Cut along the drawn line on all pairs of fabric.

Step 5. Press your seams open.
You will have two large HSTs and eight small HSTs as below. The large HSTs will be used in the quarter square triangle units, and the small HSTs will be used to make pinwheel units.

Step 6. Making the QST units
Take both your large HSTs, and draw a line diagonally through the centre on the wrong side of one of these. Pair them up so that the sewn seams on both the HSTs are lined up and you have different opposite fabrics paired either side of the seam as shown below.

You want to make sure these seams line up accurately along the line, so you get a really nice point in the centre of your block.
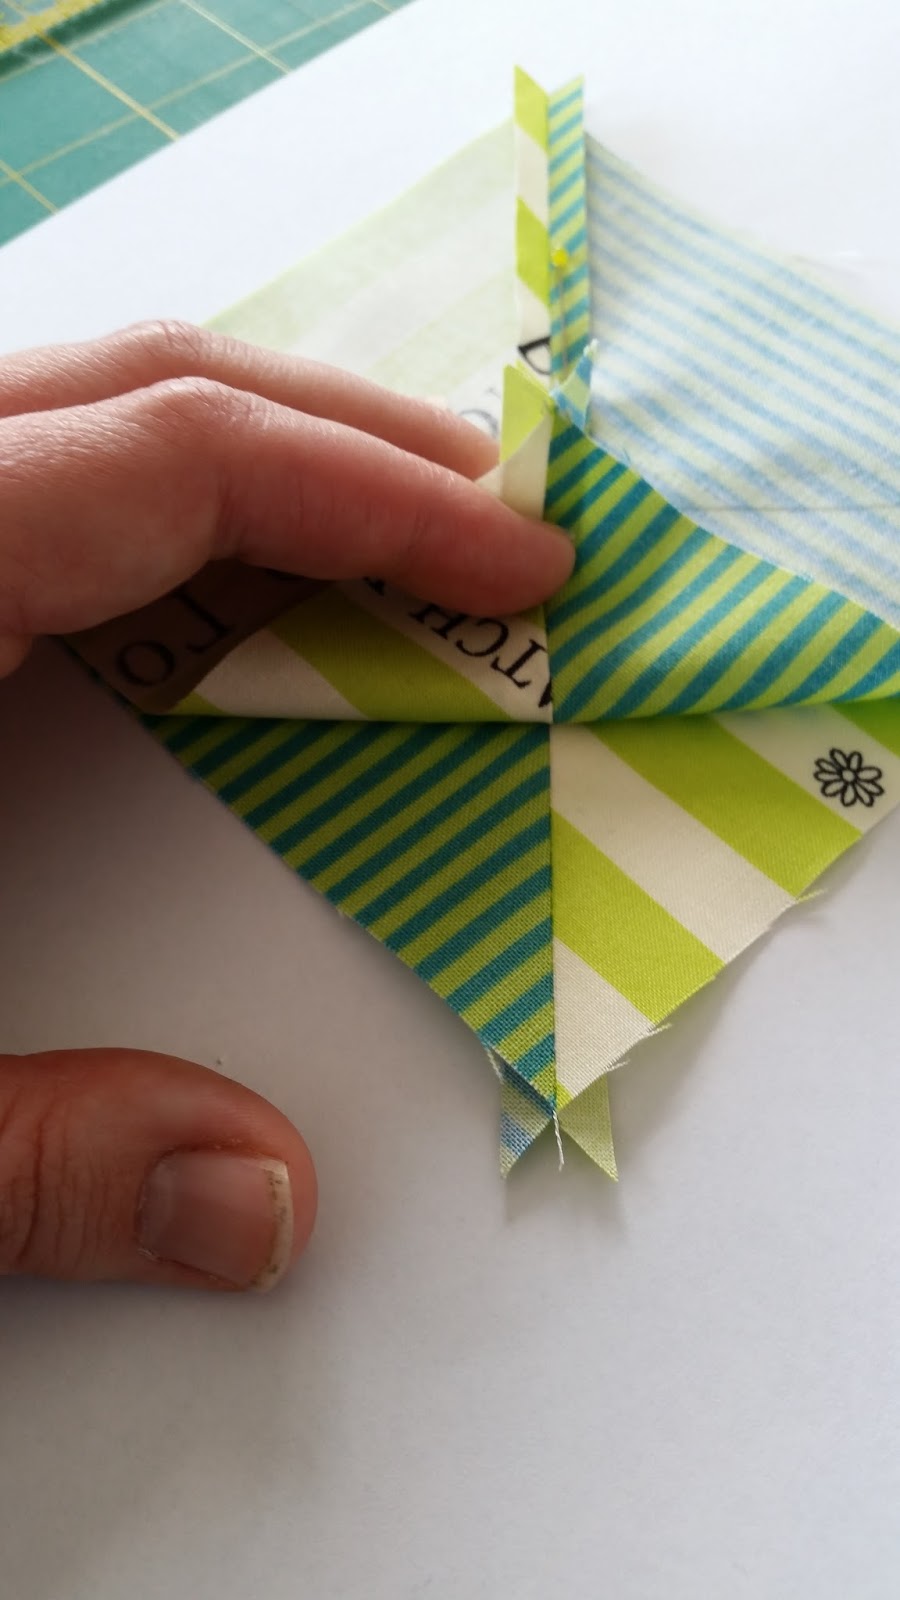
You can use a floating pin to help do this - push a pin exactly through the centre of the top HST.

then carefully lining up the edges of your two blocks, push the pin through the bottom HST, making sure it goes straight through the centre of the seam.

Pin these together and sew either side of the line.

Cut along the drawn line, and press your seams open.
You will need to trim these QST units down to size. Look carefully at the photo below to see which points you will need to line up on your ruler to trim these blocks accurately. When these points are lined up, trim the right hand and top sides of your QST unit.

Turn your QST around so the trimmed sides are at the left and bottom. Follow the photo below to see which points to line up on your ruler, and again trim the right and top sides.

7. Trimming the HST units
Look carefully at the photo below to see where to line up your ruler on your HST blocks to trim them to size. You'll be lining the 45 degree line on your ruler up with the seam on your block. Position your ruler as shown, and then trim the right hand and top sides of your HST.

Turn your block so the trimmed sides are on the left and bottom, and follow the photo below to line up your ruler. Again, line up the 45 degree line on your ruler along the seam. Trim the right hand and top sides.

8. Make the pinwheel units
Take your eight finished HST units and arrange them in pairs as shown below.


Next, sew the pairs of HSTs into pinwheel units. Pinning the seams as below will help keep the centre points aligned.

If you look at where the seams will match from the side, you can check that they're aligned properly.

10. Sew your QST and pinwheel units into the block.
Arrange your QST and pinwheel units as shown below.

Sew them into pairs, pressing seams open.

And finally sew the pairs together, using the same pinning technique as shown in step 9 above.
Press you seam open!

I actually made two versions of this block - I am learning so much about fabric placement by making these blocks! I definitely prefer the blue/green version, but I think this red/white version will make it's way into my quilt as well!

This tutorial is part of the Farmer's Wife 1930s Sew Along, hosted by Angie of Gnome Angel and the Fat Quarter Shop.

If you would like to join the sew along, you can find the book here:
The Farmer’s Wife 1930s Sampler Quilt: Inspiring Letters from Farm Women of the Great Depression and 99 Quilt Blocks That Honor Them by Laurie Aaron Hird for Fons & Porter/F+W; RRP $28.99 – Click here to purchase.
xx Jess
20 comments:
Thanks Jess, great tutorial!
I knew there had to be a way ...... still avoiding the FPP.
Very cool fabric choices! Love it!
great blog! :)
Thank you Jess. That was very helpful.ï
Hi Jess, this is a great tutorial really help get the points correst, one of mine is a little out but so much better then other times I've tried HST.
thanks again.
Excellent tutorial Jess! ❇️
I's a shame I haven't seen your post before I finish my block, because she didn't gave the big triangle mesurement in the book, I had to do it twice, first time was too short ! Nice tutorial, sure it will help. :-) And I love your blue and green block :-)
I'll give your method a try. Great to see some different colour combos
I'll give your method a try. Great to see some different colour combos
Very nice tutorial. Clear directions and great photography. I like the green blue version best too, although the red is made beautifully. Thanks from North Texas!
Great tip for getting crisp points on the QSTs. I uses 2 floating pins to help with my QSTs that are offset from the exact center about a half inch - it helps me with accuracy so much! :)
Thank god for HST! Great tutorial, none of this triangle cutting business!
Very clever! Have never tried a floating pin! :)
Thanks for this tutorial. I knew I wanted to do the HST's, but pressing my seams open! I never have had my points come out so good. Thank you, thank you, thank you.
Thank you so much for this tutorial. I was a bit hesitant to do this block without measurements for Triangle A. It worked out beautifully and I think it is my best block so far.
Love this way of making HST and QST even though I've yet to try it. I'm sure it will make my life so much easier and exciting. and I love the floating pin - I've never done that either!lol - kg
Great tutorial - so much easier than foundation method. Out of 15 blocks made this is the first one which is the correct size!! Wish you were blogging them all.
Thank you so much for this tutorial! Much easier :-).
Help! I am a new quilter an trying to keep up with this. I see that you say that I need to trim down my QST. What size do I trim them down to? What ruler are you using there? It doesn't look like anything I currently have.
sdehnke@hotmail.com
THank you for this tutorial Jess! It was so well written and I"m sure it took some time to put together. Thanks, Donna
Post a Comment